7 Step DIY Facial
There are few things more relaxing and fun than a nourishing facial at home. In the past, I used to go get facials done every month at a spa. However, I've recently discovered that I absolutely love doing my facials at home! So, I thought I would share my 7 step DIY facial with all of you so we can all get glowing results together!
Step 1: Take off Your Makeup
It might be tempting to just remove your makeup as you wash your face, but this can leave a lot of residue on your skin. For our DIY facial we want to make sure our faces are completely clean before we get all that good nourishment into our skin. So use your favorite makeup remover—I really love using organic coconut oil as a makeup remover before I wash my face. It’s naturally moisturizing, and even antibacterial! I really try to use as many natural, organic products as possible for my facials, so I'm not putting a lot of toxic chemicals on my face.
Step 2: Wash Your Face
Now that any makeup is off, it’s time to wash your face! Depending on your preferences and skin type, make sure that you’re using the right kind of cleanser/soap so that you get a nourishing wash instead of a harsh one. Also, be sure to use warm water that’s not too hot, so you can get your pores nice and open for all the good stuff you’ll be putting in them.

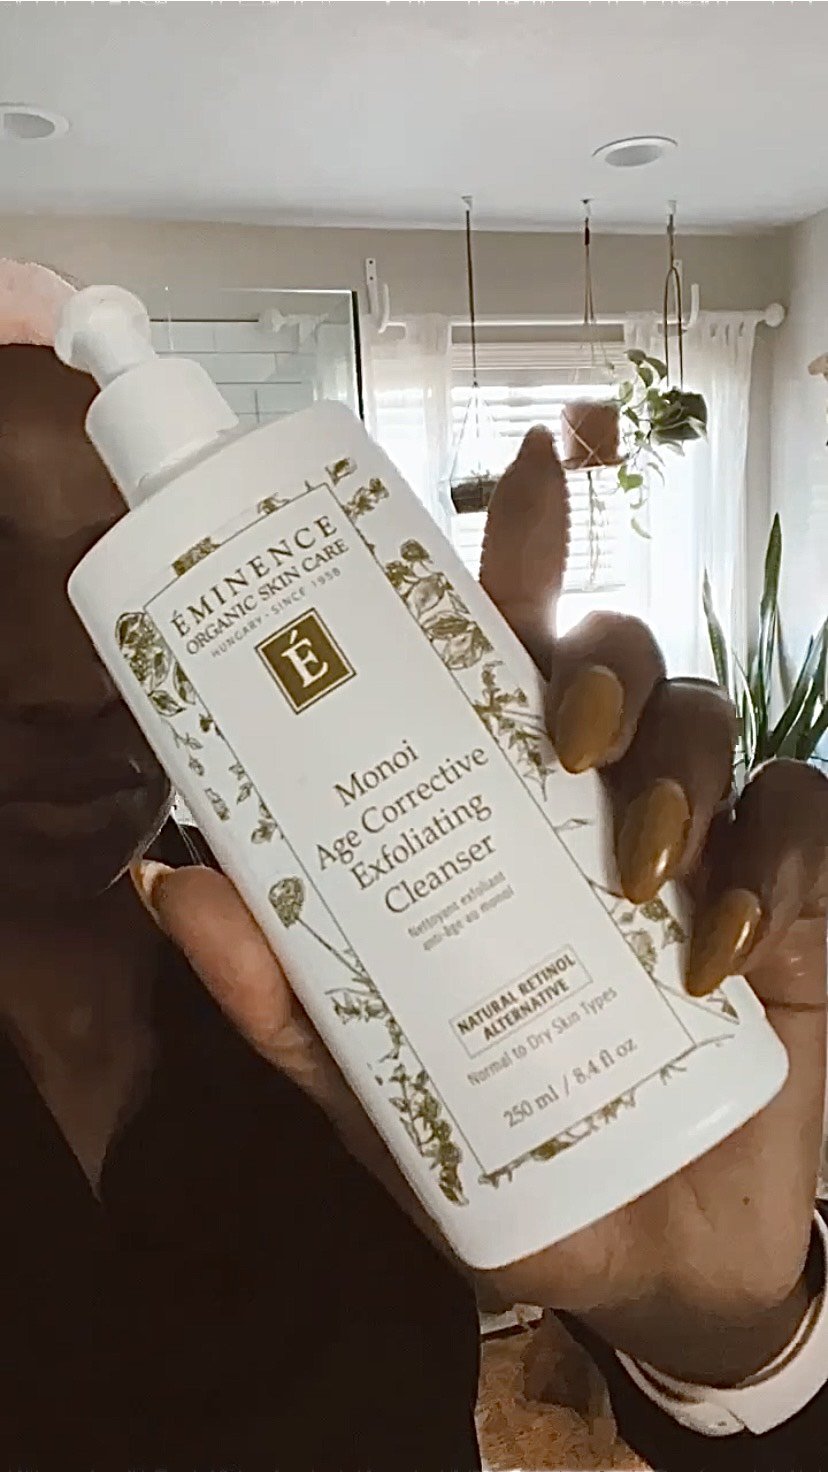
Step 3: Exfoliation
Next, it’s time to gently exfoliate. It’s important to be gentle here, since we do want to get all the dead skin removed; but we don’t want to create any cuts or scrapes or irritation. You can make your own sugar scrub with fine organic sugar and organic olive oil, or use a high-quality organic sugar scrub—whatever you prefer for your skin! Just apply it, and gently rub it around your face in small circular motions, avoiding going too close to your eyes.
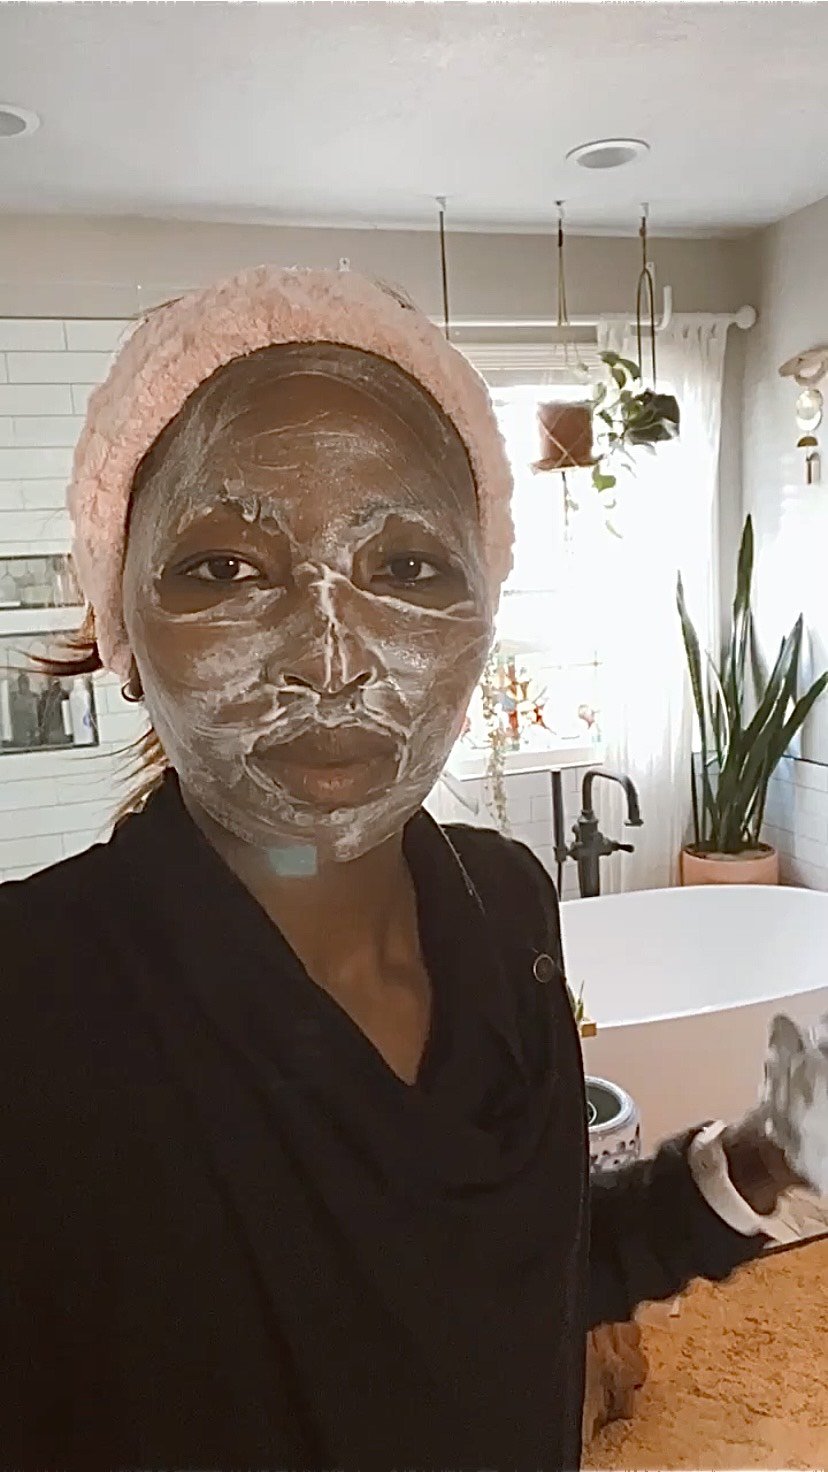
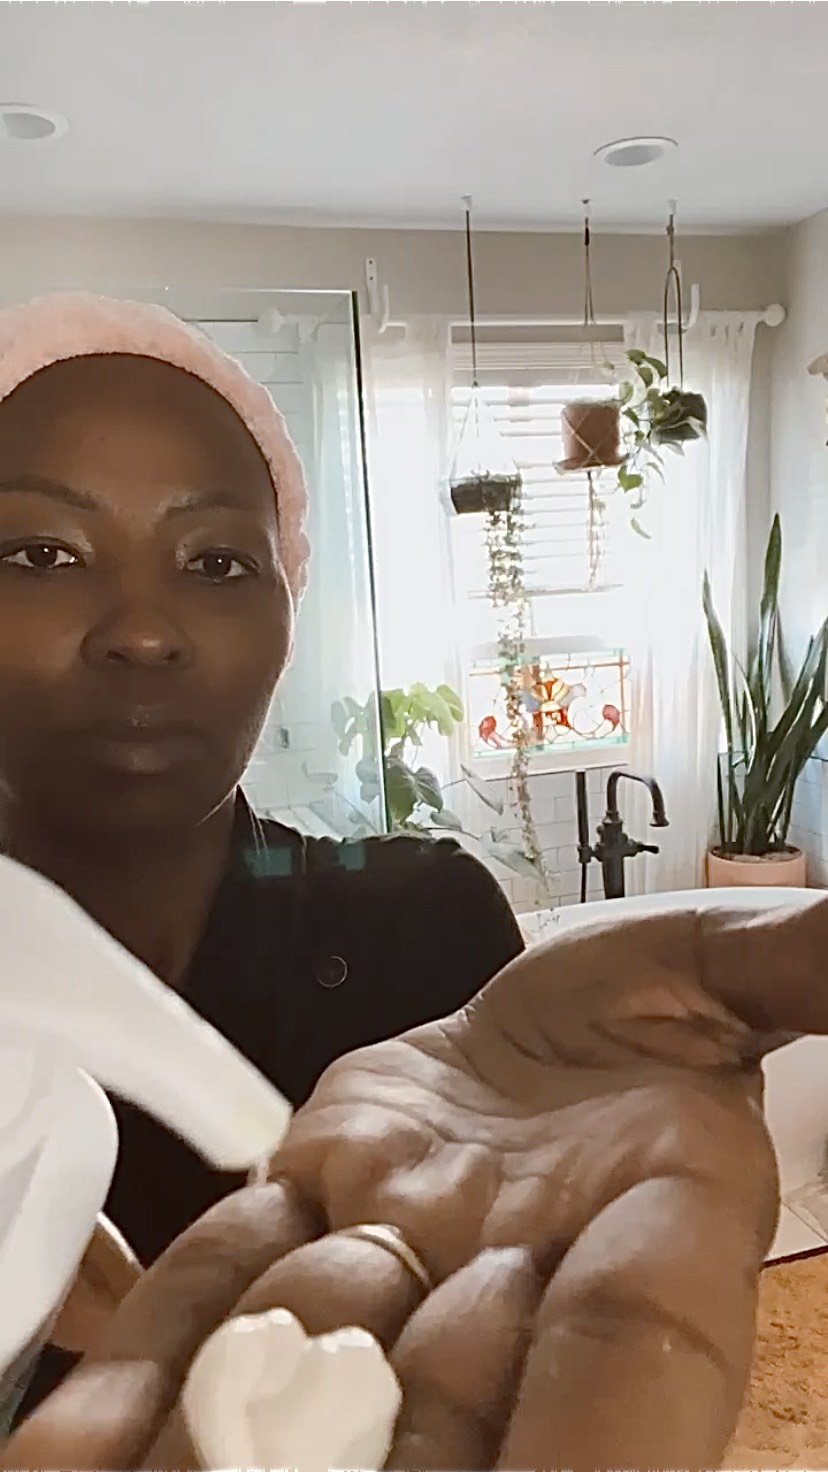
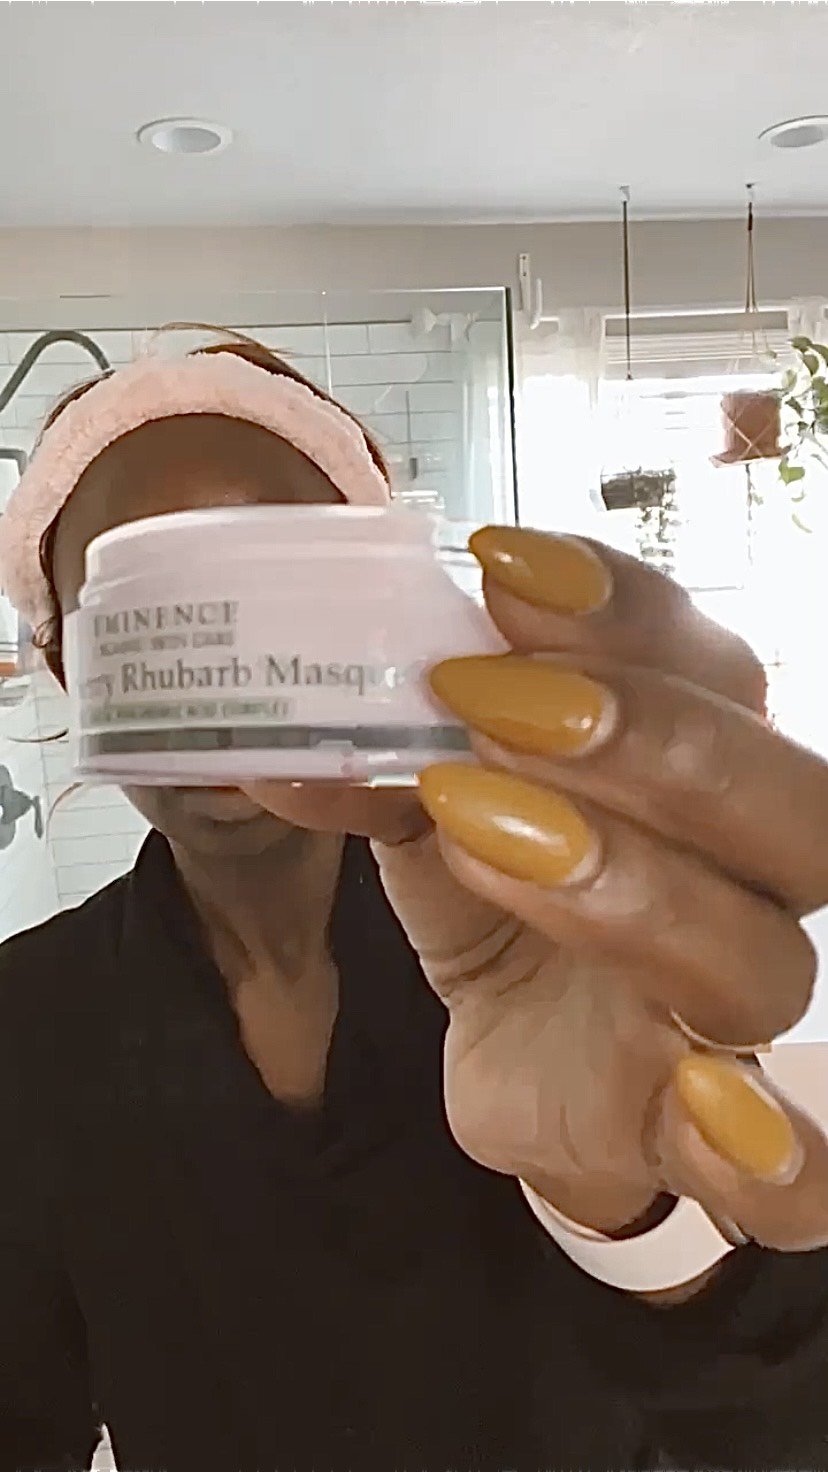
Step 4: Mask Up—The Fun Kind!
A good mask is like a vitamin-packed smoothie for your face. Getting a specially formulated, organic mask is a great way to practice self-care and keep your skin healthy and glowing! Depending on your skin type, you’ll want to find a mask that fills in the gaps. For example, if you have very dry skin, a moisturizing mask is the perfect choice. Apply your mask like you’re supposed to, and then be sure to rinse off any excess with warm water and a soft, clean cloth.
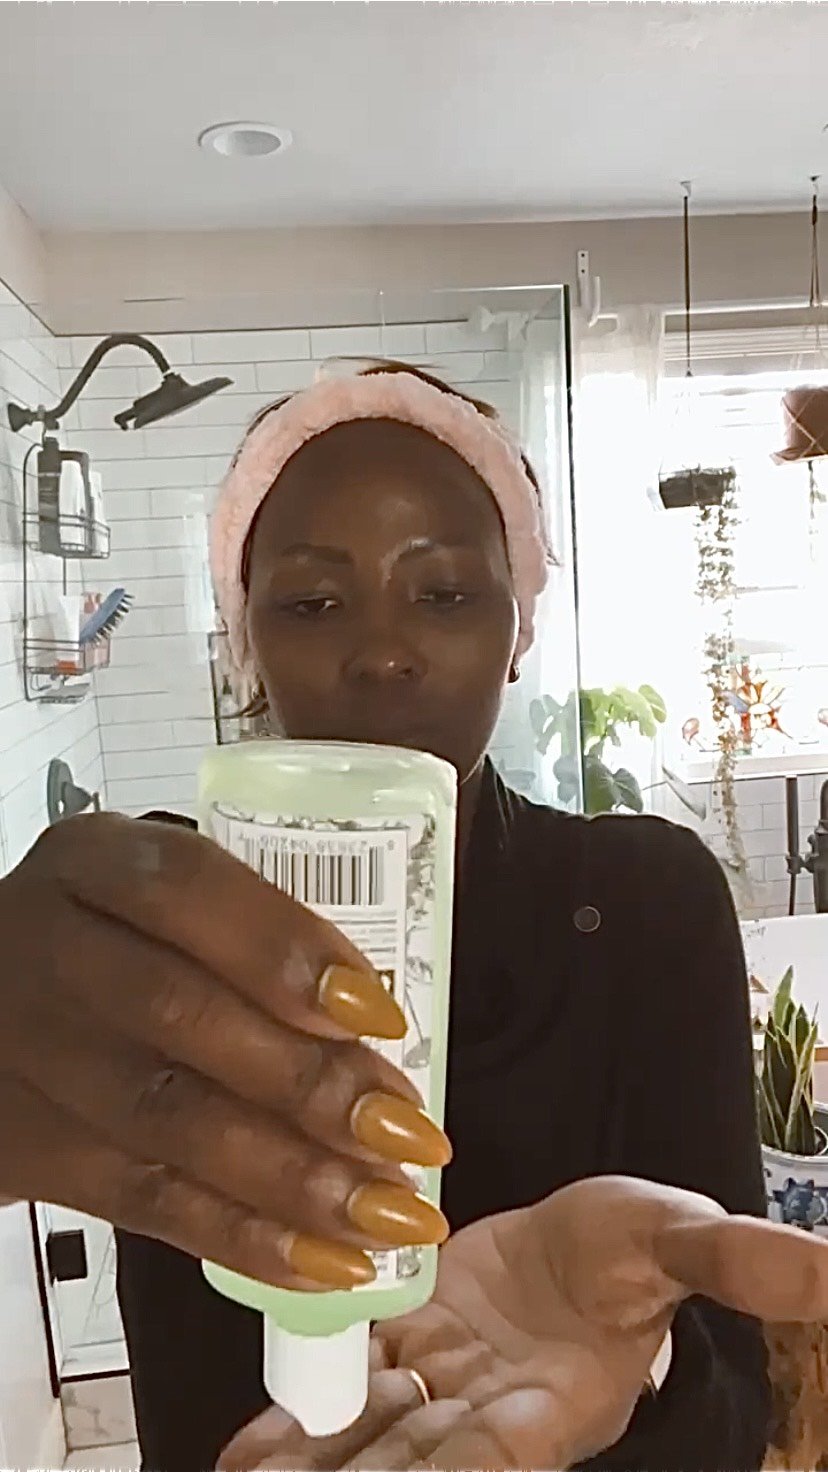
Step 5: Use Toner
Toner isn’t usually the star of the facial, but it’s an important part of every facial! Toner is the first step of giving your face some “after care” after all the washing, scrubbing, and masking we’ve done so far. Toner seals in all the good stuff into your pores, and adds a lot of nourishment on its own too! Most skin types can definitely benefit from some type of organic vitamin C based toner, but you can use what you know works best for you. Just make sure you apply it to your whole face in a thin, even layer.
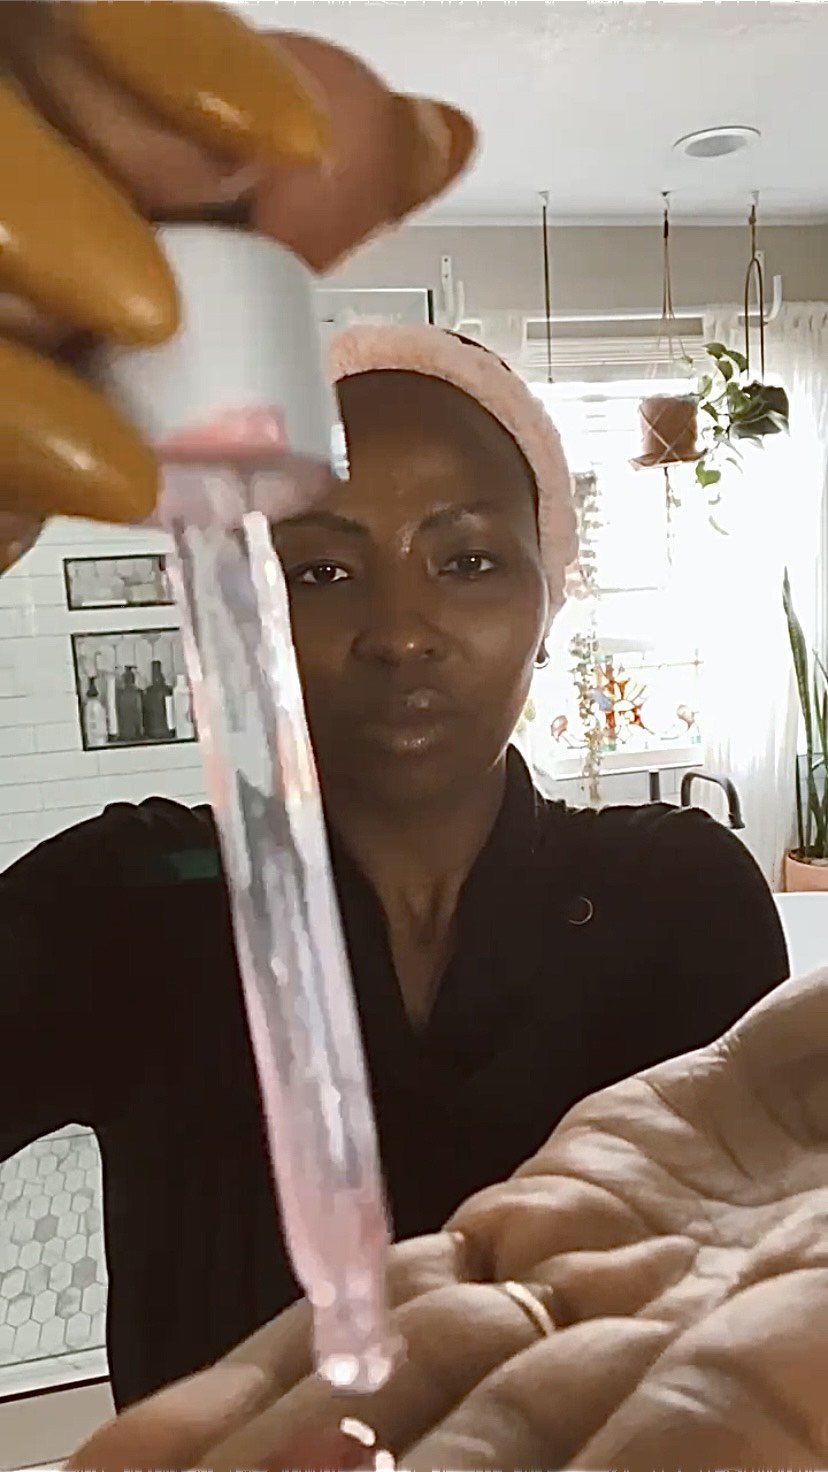
Step 6: Serum Massage
After applying your toner, it’s time to break out some serum! This is my favorite part of my facial routine, since I get to use my gua sha and roller tools, and really have a relaxing facial massage. Serum is another thing that you can find based on things your skin needs. For example, if you have enlarged pores, there are many organic serums with pore-tightening ingredients that can help! Whatever serum you choose, just be sure to take your time applying it, gently massaging it in with your hands, roller, or gua sha stone.
Step 7: Moisturize
Finally, it’s time to moisturize! Keeping your face moisturized can help with anti-aging, preventing blemishes, maintaining soft skin, and more. Again, you’ll want to choose an organic moisturizer that’s formulated for your skin type. However, the important thing is that you don’t forget to use moisturizer at the end of your facial to make sure all the goodies you’ve applied are fully absorbed.
I hope this quick, 7 step DIY facial has inspired you to add to your self-care routine, and shown you how wonderful it can be to just give yourself the spa treatment sometimes! Let me know in the comments below what products you like best, and anything you like to add to your own facials!
LOVE THIS STUFF? Get my free self care guide