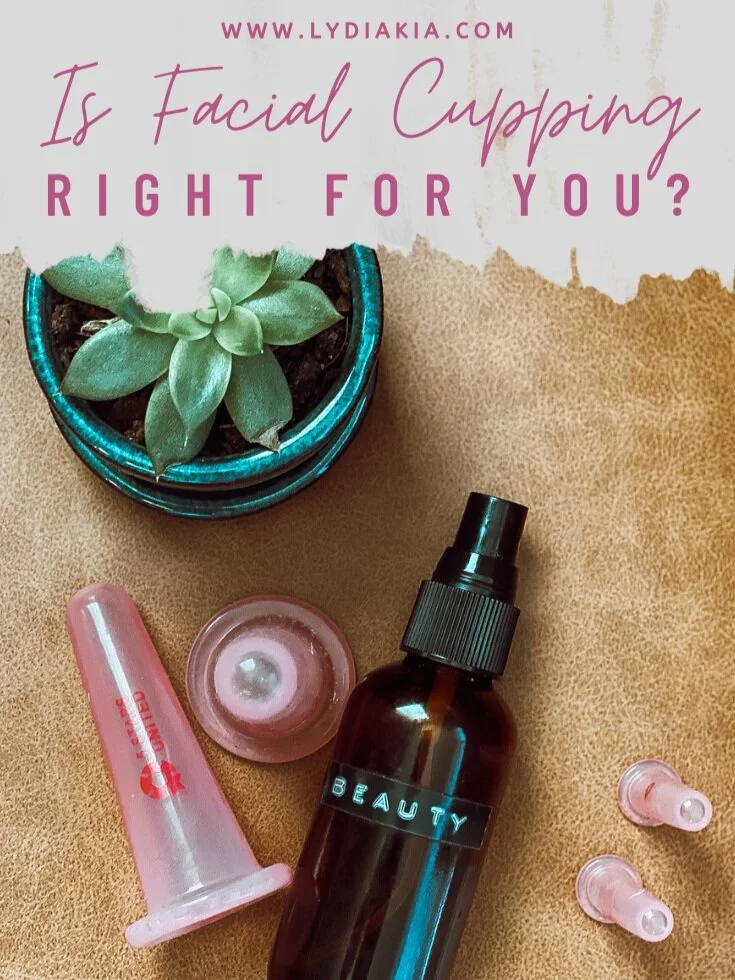
Is Facial Cupping Right For You?
If you’ve heard of cupping at all, you’re most likely picturing giant, round bruises like the ones on Micheal Phelps and Gwenyth Paltrow. So before you think facial cupping is the same, I’m here to tell you--it’s totally not! Facial cupping should NEVER leave marks and is actually super awesome for your skin!
You can get all the benefits that come with body cupping, plus a few more, without any bruising or pain. How?? Keep reading to find out whether facial cupping is right for you!
What are the benefits of facial cupping?
Facial cupping has tons of benefits, and my favorite one is how affordable it is! All you need is a little set off Amazon like this one HERE - and you're on your way to glowing, beautiful skin. Here’s what facial cupping can do for your complexion:
Help with lymphatic drainage
The movement of the suction cups over your face and back towards the lymph nodes around your neck and ears helps drain stagnant fluid from your face. Your lymphatic system is responsible for filtering toxins out of your body, so this is a very important thing for your face and entire body!
Reduce swelling and puffiness
By moving all that stagnant fluid out of your face; facial cupping helps bring down any swelling or inflammation that might be building up from that.
Combat blemishes and breakouts
Regular facial cupping helps to bring impurities up to the surface and out, so it’s normal to break out at first. However, once you make it a regular thing, you’ll start to notice that your breakouts are fewer, and your face is brighter!
Encourage collagen production
By gently separating the layers of your skin from the inside, facial cupping helps flood your skin with fresh blood flow and triggers collagen production. This firms, tightens, and plumps your skin, as well as improving its elasticity.
Minimize fine lines and wrinkles
By triggering collagen production, bringing in fresh blood flow, and pushing out stagnant fluid, facial cupping reduces fine lines and wrinkles. You can also use site cupping (letting the facial cup sit on a specific spot) to get to any deeper wrinkles you get. Typically, between the eyebrows and around the lips are good places to try this.
Okay, so obviously, facial cupping is the bomb dot com. ;) Are you ready to try it yet?? Perfect! I’m ready to tell you how to do it…
How can you do facial cupping at home?
There will usually be 2-3 different sized cups in your kit, so let’s just break down where best to use them…
Largest cup
This cup is best for the neck, chin, cheeks, and forehead.
Medium/small cup(s)
These are best for around the eyes and can be used to gently lift that super delicate skin.
Before you start facial cupping at all, it’s important that you wash your face really well. The works! Wash, exfoliate, tone, and all that!
Then, you’ll want to cover your face with a generous layer of facial oil. This will help the facial cups to get a good suction and easily glide over your skin. Argan or jojoba oil are both great for this. If you’ve got oily skin, argan is your best bet to avoid clogging your pores. Jojoba oil is great for all skin types as well since it’s the closest consistency and texture you can get to your own natural oils--plus, it is FULL of nutrients!
I make a facial serum with a few drops of Patchouli, Frankincense, Lavender, Blue Tansy and Rose in it- no, you dont need all of those. Im just bougie.
Once you’re all clean and oiled up, it’s time to begin facial cupping! Each stroke can be repeated 3-5 times, depending on what you’re most comfortable with. Now, start with one side of your face, and…
Start at your collarbone with the largest facial cup. Gently squeeze, and release the cup on your skin to get the suction. Then, carefully keeping the suction, slowly drag it up your neck and to the base of your ear. Do this all over that half of your neck.
Now move to your chin. Same cup and movement from your chin, over your jawline and cheek, towards your ear. Do this until you reach about the mid-cheek area.
Next, still using the large cup, start next to your nose on the same side you started on. Push back towards your ear again, and keep going until you reach your temple.
After your cheek, use the large cup on your forehead, starting at the middle, and dragging downward towards the base of your ear.
Now, you’re done with the large cup. Use your medium cup now, and start at the middle of your upper lip. Drag it back through your cheek and to your ear.
Finally, it’s time for your smallest cup! Start at the inner bottom corner of your eye. Now very gently pull the cup backward to your temple.
Repeat this from the upper inner corner and underneath the brow to the temple.
Go over steps 1-7 again on the other half of your face!
There you have it! An easy and affordable way to give yourself a fancy li’l facial that does absolute wonders for your skin! I highly recommend facial cupping as part of your self-careroutine. If you have any questions or concerns about facial cupping being right for you, please let me know below!
LOVE THIS STUFF? Get my free self care guide


