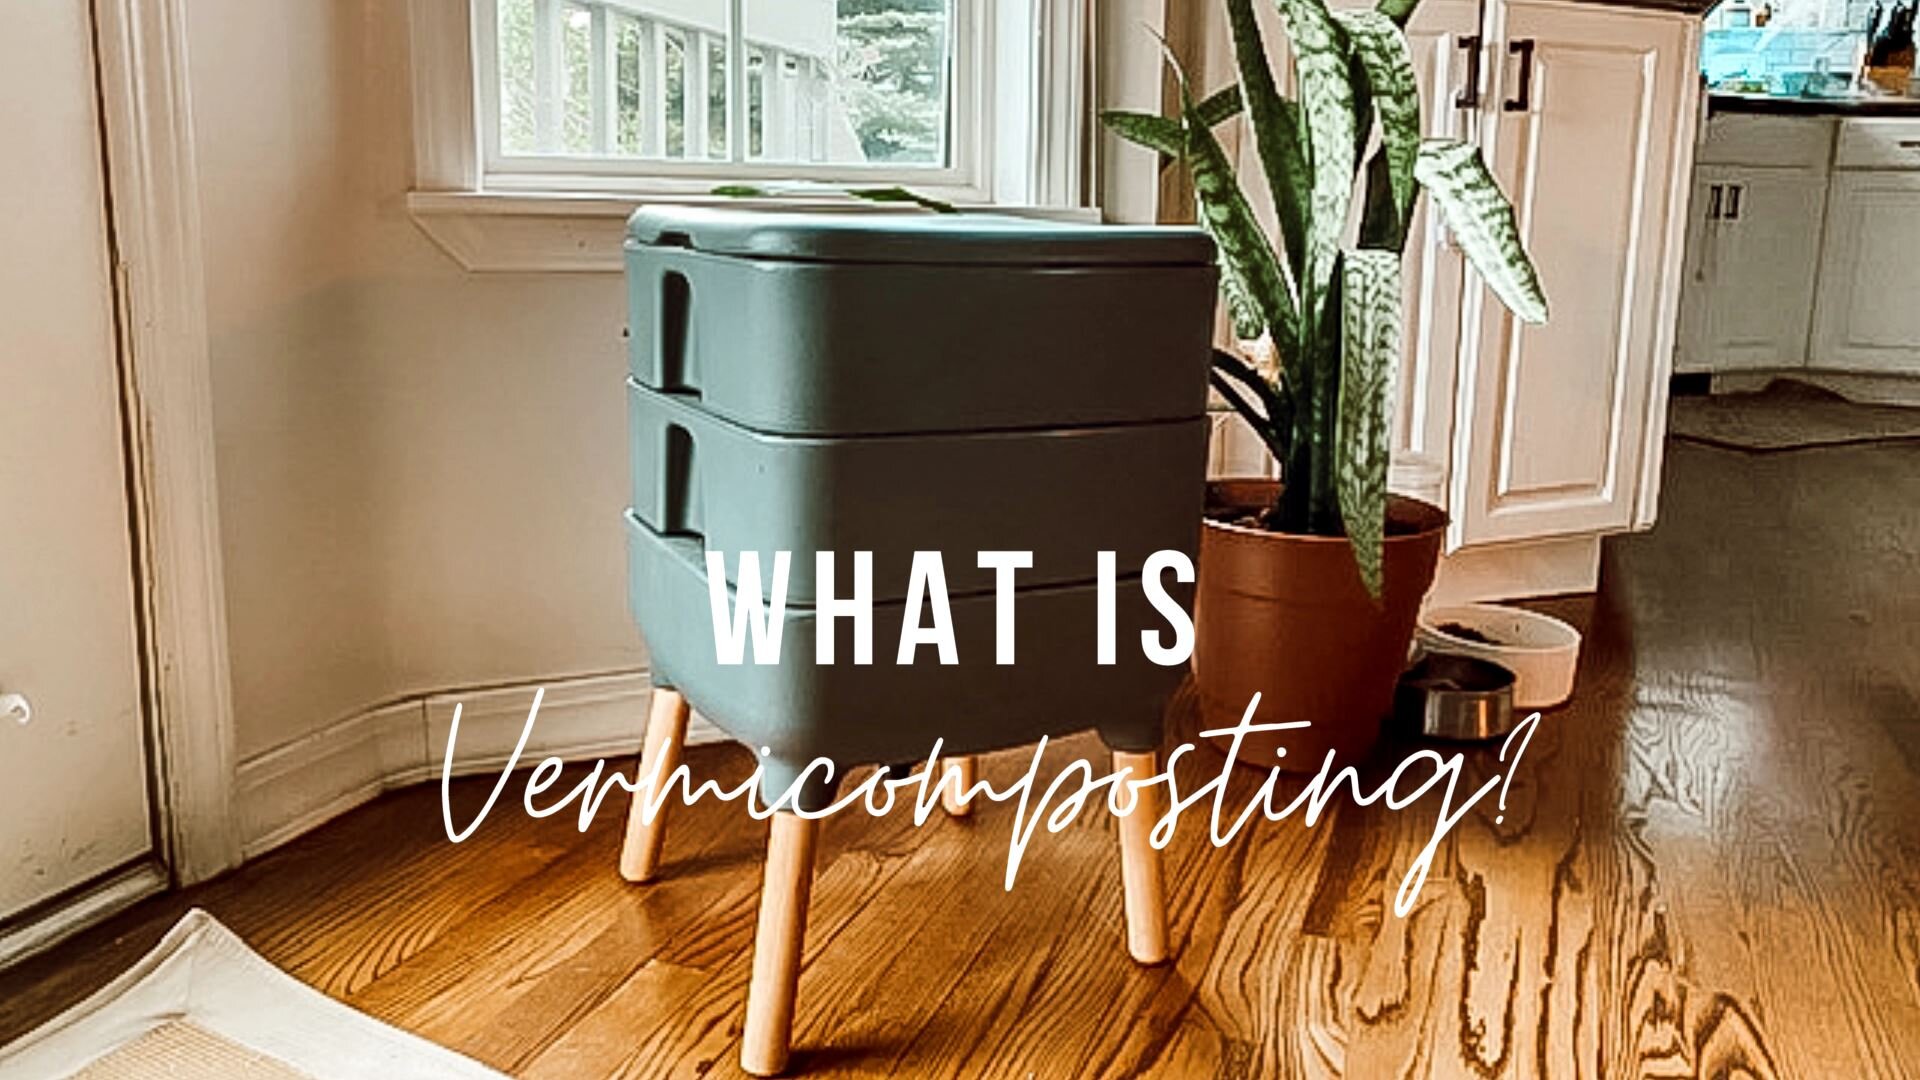
What Is Vermicomposting?
I came out of the wierd hippie closet when i posted this video on Tik Tok.
It went viral and I suddenly realized there were tons of people who had the same reaction to composting- (INDOORS… WITH LIVE WORMS) … horrified and completely fascinated.
Vermicomposting is what it’s called when you use worms to help process your organic waste into compost! It’s the perfect way to compost if you don’t have the ability to make a compost pile outside. It’s also 100% natural, and is a great example of how to live in harmony with the Earth and her creatures.
So how does vermicomposting work? Vermicomposting is very easy, only requires a little bit of planning, and has few rules. Here’s what you need and why:
A worm Bin- A regular plastic bin works fine, since it will last the longest and still be durable. But there are so many different makes and models of worm bins these days. All you need is about one square foot of space per pound of waste you use in a week. But dont sweat the ratios, you are honestly going to learn so much about your worms eating habits by just getting started. Be sure that there are ventilation holes in the top and sides, so that the worms have air, and don’t forget holes in the bottom for drainage.
Drainage Collector - Vermicomposting produces a liquid known as “composting tea” that can help your garden retain nutrients and moisture. You can save this to use as little or often as needed for your garden. Make sure that it does drain out, however, since it can cause your entire compost pile to rot if it’s left in the bin. MY FAVORITE COMPOSTER - here- has drainage built in, so its not even something you have to think about.
Bedding- You can use leaves from outside, ripped up (non-glossy) newspaper, egg cartons ripped up, peet moss (although ive heard its over harvested) , and coconut core ( comes included in the bin I bought) or shredded cardboard as the foundation of your vermicomposting bin. Anything biodegradable and able to retain moisture without becoming tightly condensed down and matted can be used for this. Peat moss is a great addition to help prevent matting and retain moisture. Moisture is very important to keep the worms healthy and alive, so make sure you are creating a damp and happy environment for them to live in. Once you have the bedding base, add in some soil and mix it all together until everything is evenly distributed.
Worms! - The most important part of vermicomposting is the worms! You need about one pound of red wiggler worms per three pounds of waste, so make sure you’re getting the right amount for what you’ve got. It’s also important to know what kind of worms you need… You shouldn’t use earthworms from your own yard, since they prefer to burrow very deeply, and have their own jobs established out there already. The best kinds of worms to us for vermicomposting are ones that naturally stay close to the surface of the soil. They will be much more at home in your shallow compost bin. These kinds of worms are usually sold in fishing/bait shops by the pound, and are known as red wigglers, or red worms.
Your kitchen scraps- Last but not least, it’s time to add in your waste. It’s important to note that it should be organic, vegetative waste only. Avoid dairy, meat, and bones; since these take much longer for the worms to digest, and can get really stinky. Gross. Stick to vegetable peelings, cores, eggshells, tea/coffee grounds, etc. Beware of adding much citrus or bread products, as these can impact the pH balance of your compost and hurt the worms—as well as your garden! Never add pet waste to your vermicompost. A few surprising things you CAN add, however, include: dryer lint, natural cotton fabrics and twine, sawdust (from untreated wood), and seaweed!
Every week, just add in the waste you’ve collected. Don’t keep opening and stirring up the compost every day… Worms work best when left alone, so all you need to do is check on it when you make your weekly contribution. Within four to six weeks, your compost will be ready to collect and restart! Rather than sifting through for a long time and taking a lot of time to get your compost out, there’s an easy way to get the worms to leave on their own!
First, push all the old compost over to one side of the bin. Then, fill the empty side with your new, fresh bedding. After a week or two, the worms should have mostly migrated over to the fresh bedding. This will make it so you can get the ready compost out without having to find every single worm in the bin.
Vermicomposting is a wonderful and easy way to recycle your waste, work together with nature, and help your garden flourish. I hope you’ve enjoyed this quick guide, and please feel free to send pics of your own vermicompost bin! I’d love to see them!
LOVE THIS STUFF? Get my free self care guide