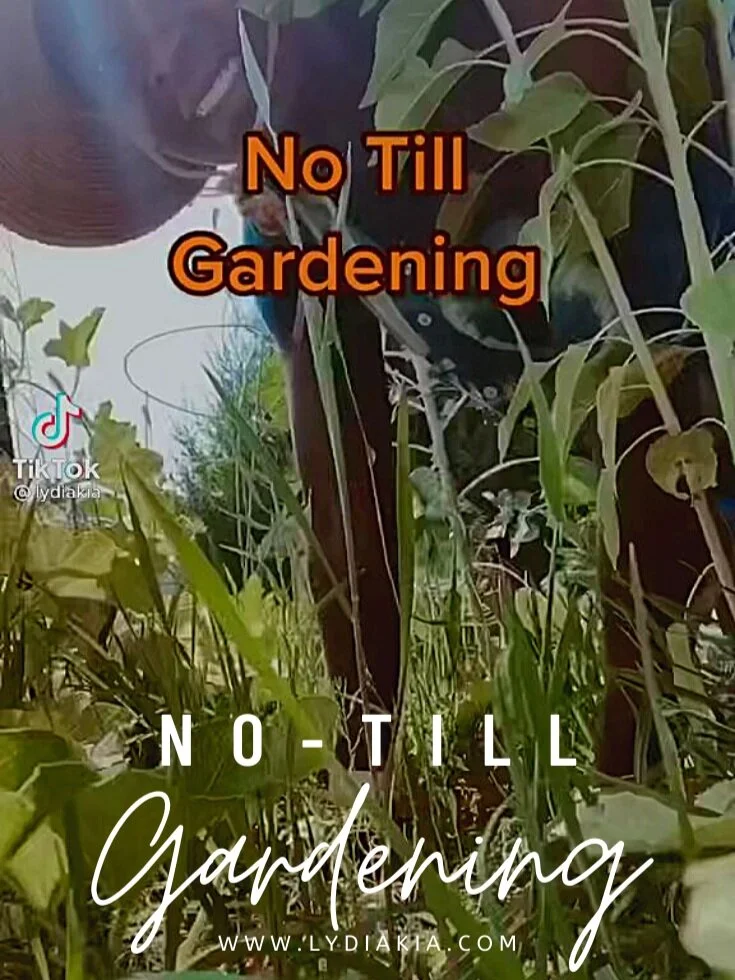
No-Till Gardening
Have you ever wondered why wild plants seem to grow so well, while your garden you’ve worked so hard on just doesn’t thrive the same? The answer could be the soil. Now, before you go running off to find new soil to dump in your garden, there’s a better way! This way is called no-till gardening, and it gives you an opportunity to work WITH your soil, rather than against it. Read on to learn more!
How Does No-Till Gardening Work?
You might not realize it, but the soil is a living organism in and of itself. There is a vast, microscopic ecosystem that works together to aerate, nourish, and heal the soil so plants can grow healthy and strong. However, tilling destroys this whole network of systems and actually really damages the soil. Instead of doing this, it is possible to cultivate a thriving garden without tilling at all! You get to work with all the microorganisms and fungal networks that keep the soil healthy by not tilling. If you already have a tilled garden, you can make the transition if you want, though! Here’s how:
How To Transition To A No-Till Garden
Turning your tilled garden into a no-till garden is not an overnight process, but it’s definitely going to be worth it once you’re ready to start planting!
Step 1: Let It Go
The first step to transitioning to a no-till garden is to let your soil heal for a year. Then, let the natural weeds come and grow through the soil and help feed all the microorganisms so the soil can heal. One thing to keep in mind is to pull the weeds before they seed and let them decompose on the soil. This will make them easier to get out of the way when you’re ready to plant while still feeding and healing the soil.
Step 2: Herb It Up
While you’re letting the weeds do their thing, you can help your soil along by planting some herbs. Comfrey is a great option, but just about any herb will do. Herbs help naturally fertilize the soil without adding any chemicals that kill the tiny organisms that digest compost and create nutrients.
Step 3: Test It Out
After a year of letting the weeds and herbs heal your soil, it’s time to test it! Doing a soil test will show you if there are any necessary nutrients your soil might be missing. Once you know what’s lacking, you can add some herbs or compost that builds that nutrient up.
Step 4: Plant, Plant, Plant!
Now that your soil has gone back to its natural, healthy state, you can start growing more things! While you obviously don’t want to till the soil, the top layer will need to be a little bit disturbed so you can plant the seeds. All you need is a digging fork to help loosen the soil and create holes for your seeds!
Maintaining Your No-Till Garden
Just like any garden, you have to make sure to take good care of your no-till garden. Here are some tips that will help you keep it thriving and healthy as long as you’re growing in it:
Practice proper crop rotation to combat pests and refresh the soil.
Use cover crops or mulch to help prevent weeds from taking over.
Don’t walk on the beds or press the soil down. This compacts it and destroys the networks and tunnels all the microorganisms and fungi have created in your soil.
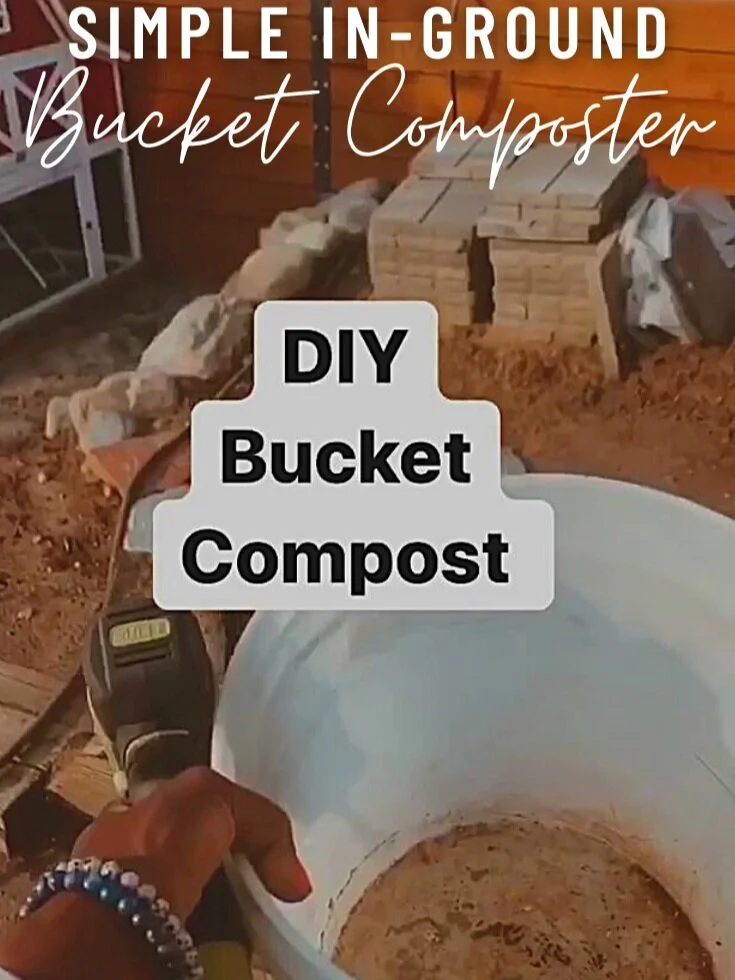
Compost! I like to use my worm compost for my garden, but you can use whatever compost works best for you.
I hope this quick and easy guide to no-tilling gardening helps give you a better understanding of working with nature to create an amazing harvest! Please comment below if you have any questions or tips of your own!
LOVE THIS STUFF? Get my free self care guide


