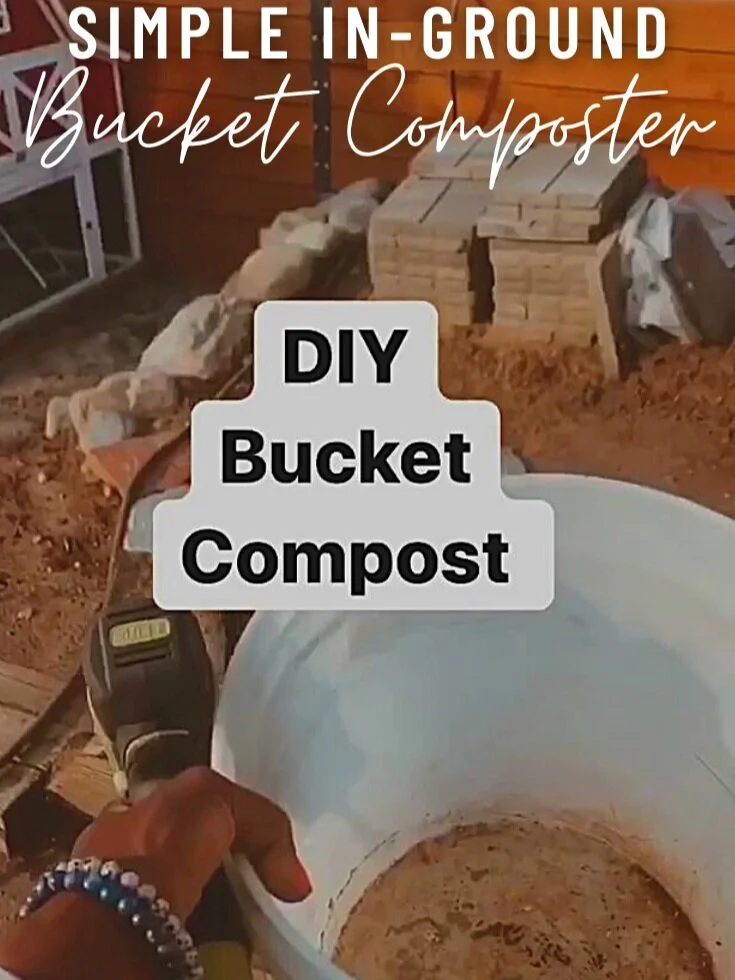
Simple In-Ground Bucket Composter
If you don’t like the idea of a worm composter in your house or out in the open outside, a simple in-ground bucket composter could be the perfect solution for you! It’s super easy and gives you the advantage of having your worms right near your garden if you want. Here’s how to do it:
Simple In-Ground Bucket Composter
Supplies:
A large, plastic bucket with a lid (3lbs is a good minimum)
A drill
A shovel
Worms
Bedding materials (shredded cardboard, crumpled paper, etc.)
Compostable kitchen scraps
Water

Steps:
Now that you’ve gathered all your supplies, it’s time to create your in-ground bucket composter! It’s super easy, and you can get it done in less than 10 steps:
Drill several holes in the sides and bottom of your bucket. This allows your worms to travel in and out and make their way through your garden too! Worms are a sign of healthy, happy soil and plants, so this is definitely a win/win.

2. Dig a hole deep and wide enough to just fit your bucket, with a few inches in the bottom to lay some bedding. You don’t need to pack down the sides or bottom of the hole since you want your worms to be able to move back and forth freely.


3. Lay down some bedding material in the bottom of the hole. Torn-up cardboard works excellent here, and can be a perfect little safe space for your worms to go if things get too toasty up above.

4. Set your bucket down in the hole, and place more bedding material inside it. Cardboard is still a good option here, but you can also add in some plain, shredded paper.


5. Next, it’s time to add your kitchen scraps, so your worms have some yummy foods to eat! If your scraps are dry, it’s a good idea to add some water at this point to keep things moist for the worms. Just don’t make it too wet, since this can drown the worms!

6. Now, add some more bedding. This doesn’t need to be as heavy as the bottom beddings you did, so just some crumpled paper is fine.

7. It’s finally worm time! Next, you can add some worms to the top of your bedding and food layers, and be sure to add in some soil so they have room to dig around. If you have some worms already in a composter, you can use their “home dirt” to make it easier for them to acclimate.


8. Next, add some more light bedding to the very top of the bucket, just to make a buffer from the lid to the worms.

9. Finally, just pop the lid on, and fill in the dirt around the sides of the bucket if there’s any room! If your in-ground bucket composter is in a particularly sunny spot, you can feel free to cover the lid with some dirt to help keep the worms cool as well.


That’s it! Now you have a simple in-ground bucket composter that creates compost AND fertilizes your nearby garden! I hope you love this idea as much as I do, and please feel free to share any thoughts or questions below.
LOVE THIS STUFF? Get my free self care guide